The orientation of the model in the 3D printer impacts a lot of different factors and can make the difference between a good or a bad print. In this article we explain the difference choosing the right orientation can make and what to consider when choosing the orientation of the model.
Printability
The most important thing when choosing the orientation is limiting the possibility of the print to fail. Avoiding support, making sure enough of the model is touching the build plate and placing the model in the middle of the printer can save you a lot of failed prints.
Support (or not)
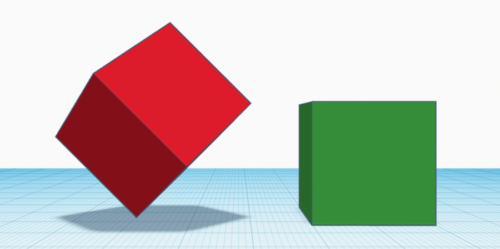
Adding support to your model is a great function but it’s always better if it can be avoided. Thinking about an effective orientation without support saves printing time and materials and increases the quality of the model.
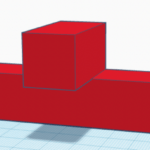
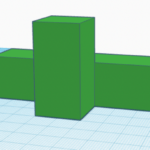
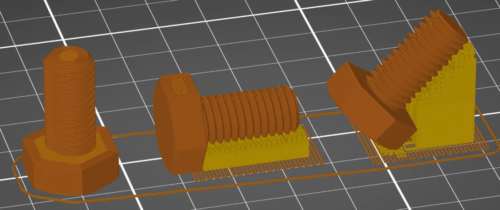
As shown above, by changing the orientation the support in the following example could have been avoided. But even with support, modern slicers now have more sophisticated options for optimising the printing process.
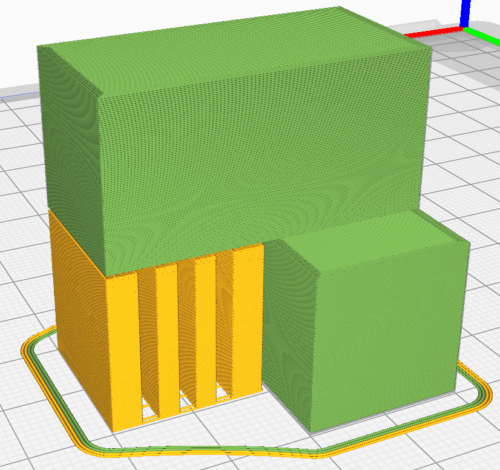
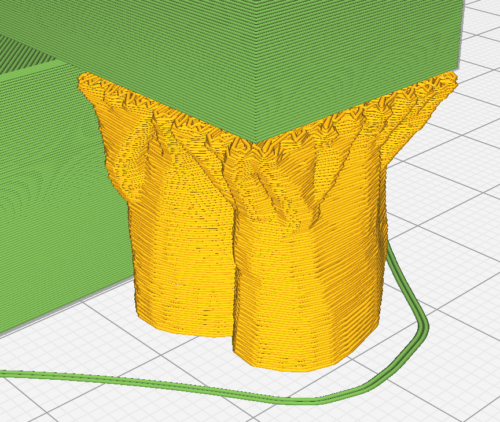
For example, the support structure selected can be modified, as shown in the example below. Here the support has a tree-like structure, which is often advantageous because it is less dense and therefore easier to remove.
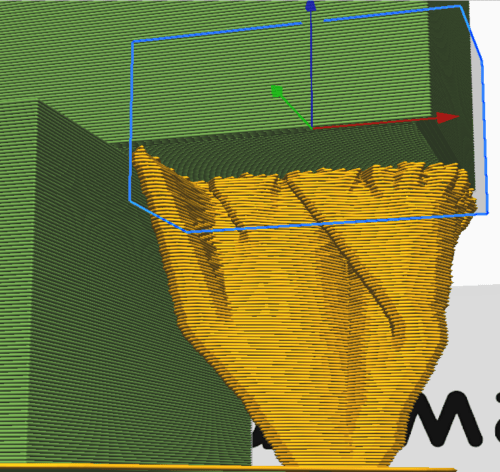
It is also good to know that support can also be deactivated for partial areas of the model to be printed. In the example below, part of the overhanging surface was left out, which is of course not very practical.
Strength of the model
Because FDM 3D printing revolves around stacking layers, its weakness is when force is applied along the same orientation as the layers. It is very important to take this into account when choosing the orientation of a model when force is applied. Choosing an orientation where force is perpendicular to print lines or even diagonal makes the print a lot more resistant.
Quality
FDM printers are more accurate in the X and Y direction than the Z direction. Using this to your advantage can improve the quality of your 3D prints. This is especially true when 3D printing braille. If you position the braille facing up, the printer needs to make very small circles in steps based on your layer height. Besides the limitation of your nozzle the steps in the Z direction will never make it an actual round shape. More information can be found in article 3. Braille.
If you turn the same model 90 degrees so that the braille is facing along the X or Y direction, the movement of the stepper motors enables very smooth curves which greatly increases the quality of the braille. Even though you are still limited to the steps in the Z direction, its impact is greatly reduced when choosing this orientation.

